Quickstart
Welcome to Zing Protocol! This guide will get you set up and ready to start monetizing your content as a creator. We'll cover authentication, studio activation, and publishing your first article.
Prerequisites
Before you begin, you'll need:
- A Google account for authentication
- A Sui wallet (optional for topup usage, more topup options coming soon)
- USDC for purchasing storage tiers other than free plan
Step 1: Authenticate with Google
Zing Protocol uses zkLogin for seed-phrase-less Web3 onboarding. Simply click "Continue with Google":
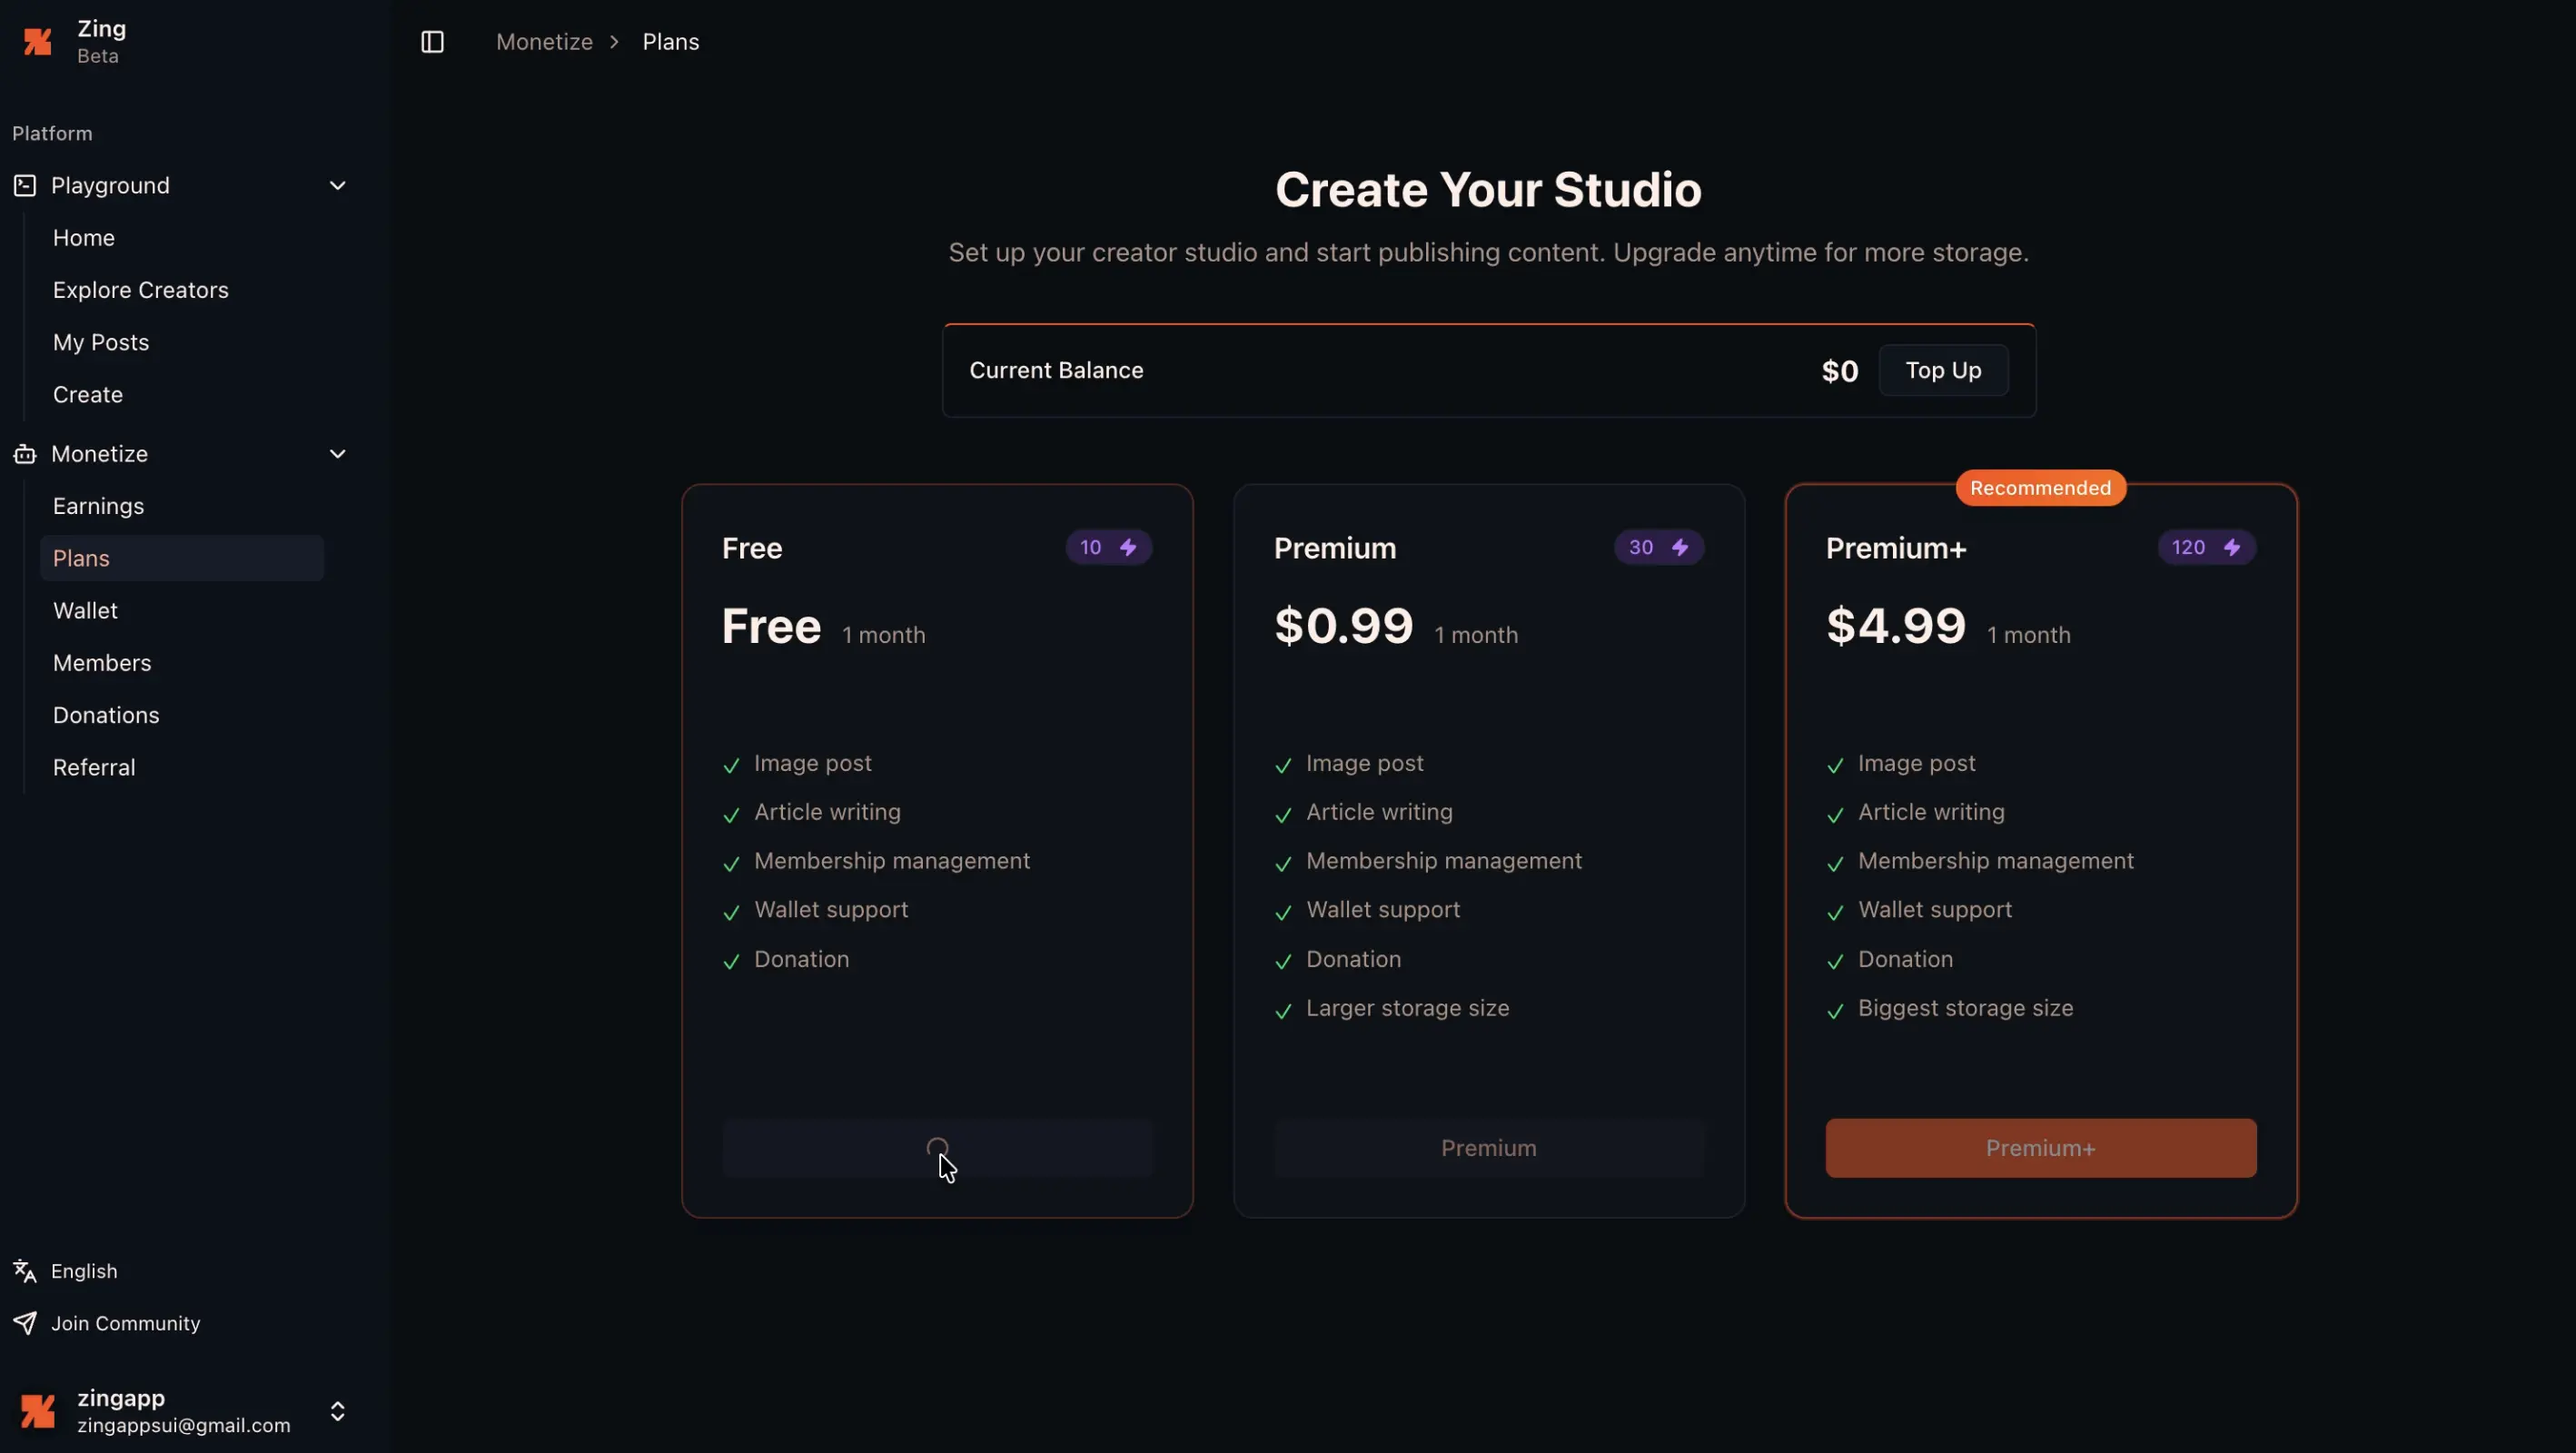
Step 2: Activate Your Studio
After authentication, you'll be prompted to activate your Studio by purchasing Dev Energy credits. Dev Energy is the storage quota you purchase — your content costs credits based on its size, ensuring quality over quantity.
Dev Energy Calculation
Each piece of content costs Dev Energy credits based on its size:
| Action | Dev Energy Cost |
|---|---|
| 1 credit | ~63 MB of storage |
| Minimum cost | 1 credit (even for small text posts) |
// Example: Content storage cost
const WALRUS_BLOB_BASE_UNIT_BYTES = 66028830.72 // ~63 MB per credit

const creditsCost = contentSizeBytes / WALRUS_BLOB_BASE_UNIT_BYTES
This design ensures quality content — a simple text post still costs 1 credit, encouraging creators to publish meaningful work.
Storage Tiers
| Tier | Dev Energy | Storage |
|---|---|---|
| Basic | 10 credits | ~5 GB |
| Premium | 30 credits | ~20 GB |
| Premium+ | 120 credits | ~100 GB |
Step 3: Create Your First Content
Navigate to the content editor to create your first article:
- Create - Compose your content in article or post. More formats support in the future.
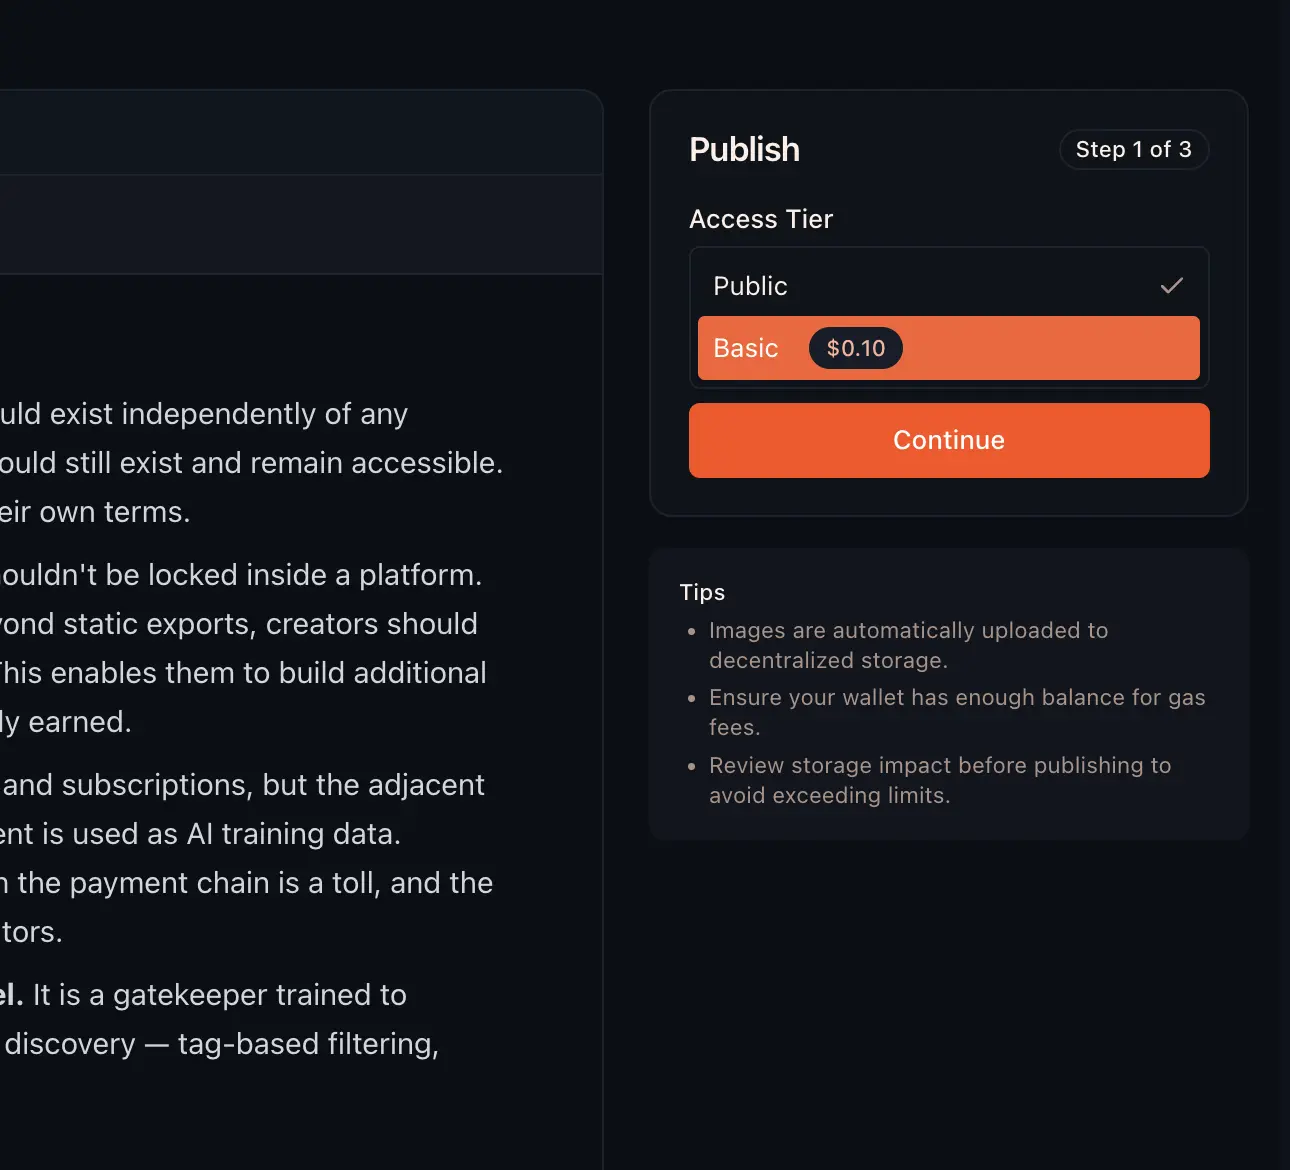
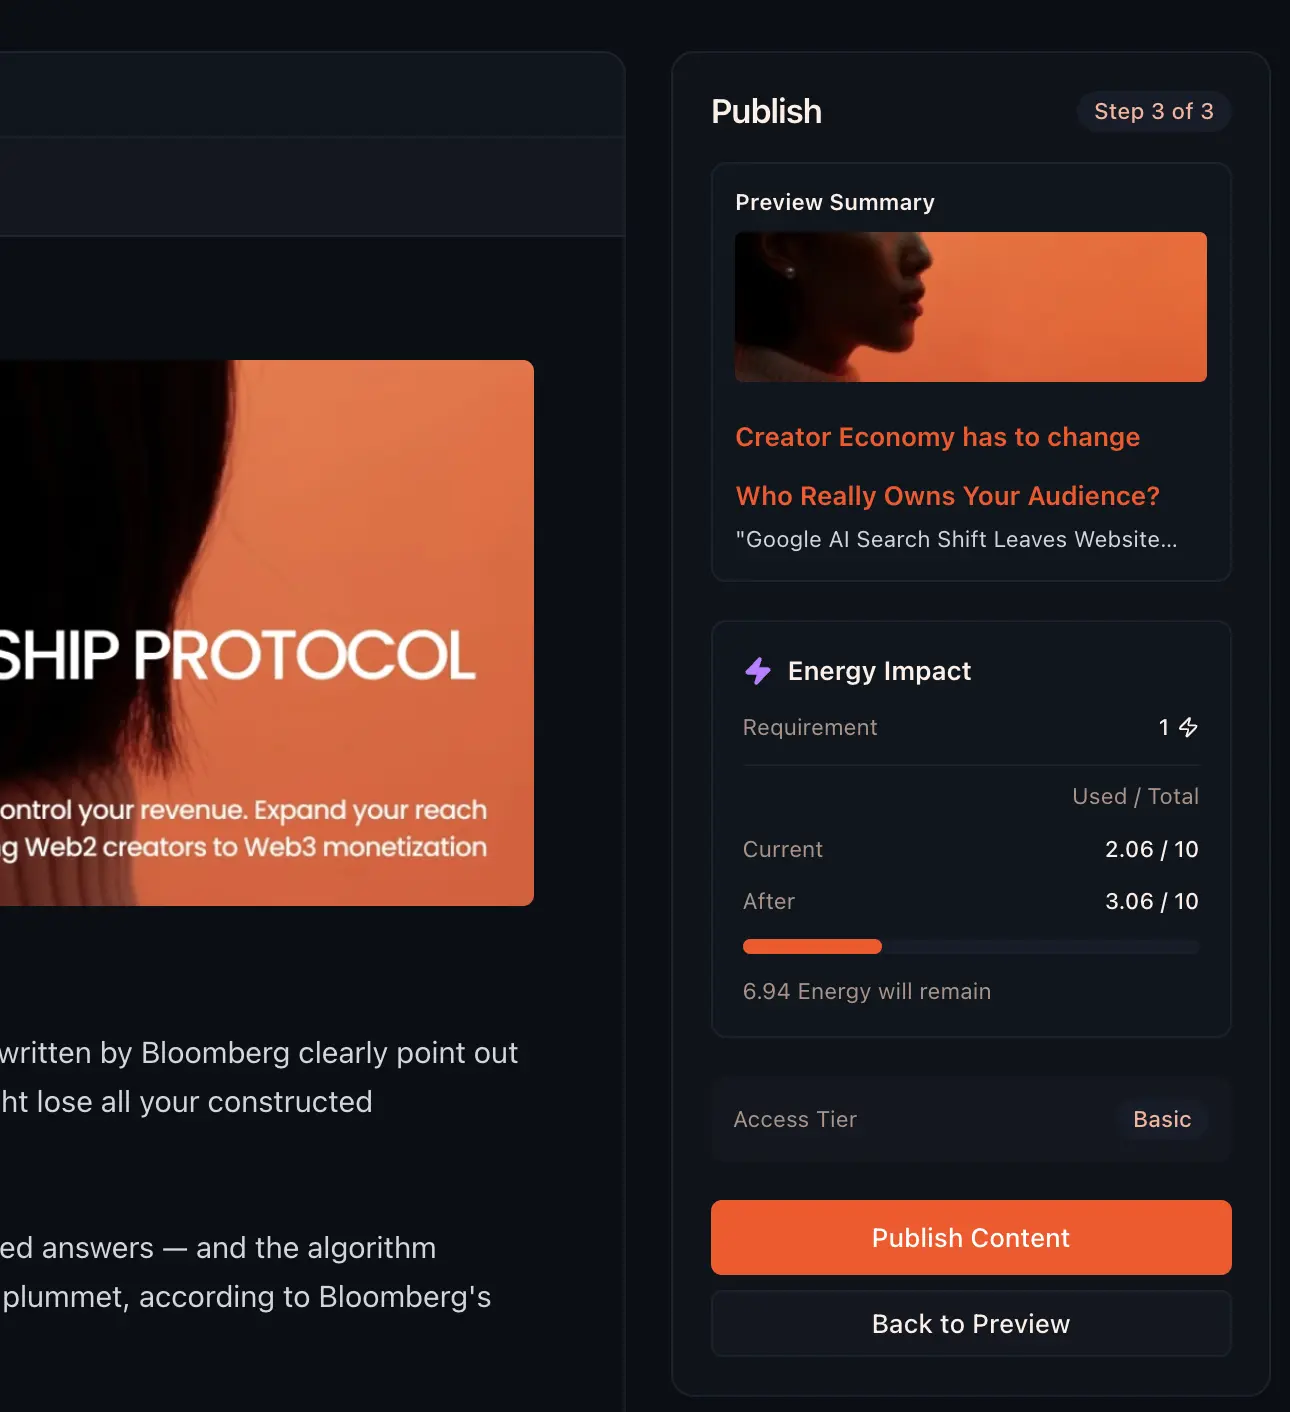
- Configure - Set access tier (Public, Basic, Premium, Ultra)
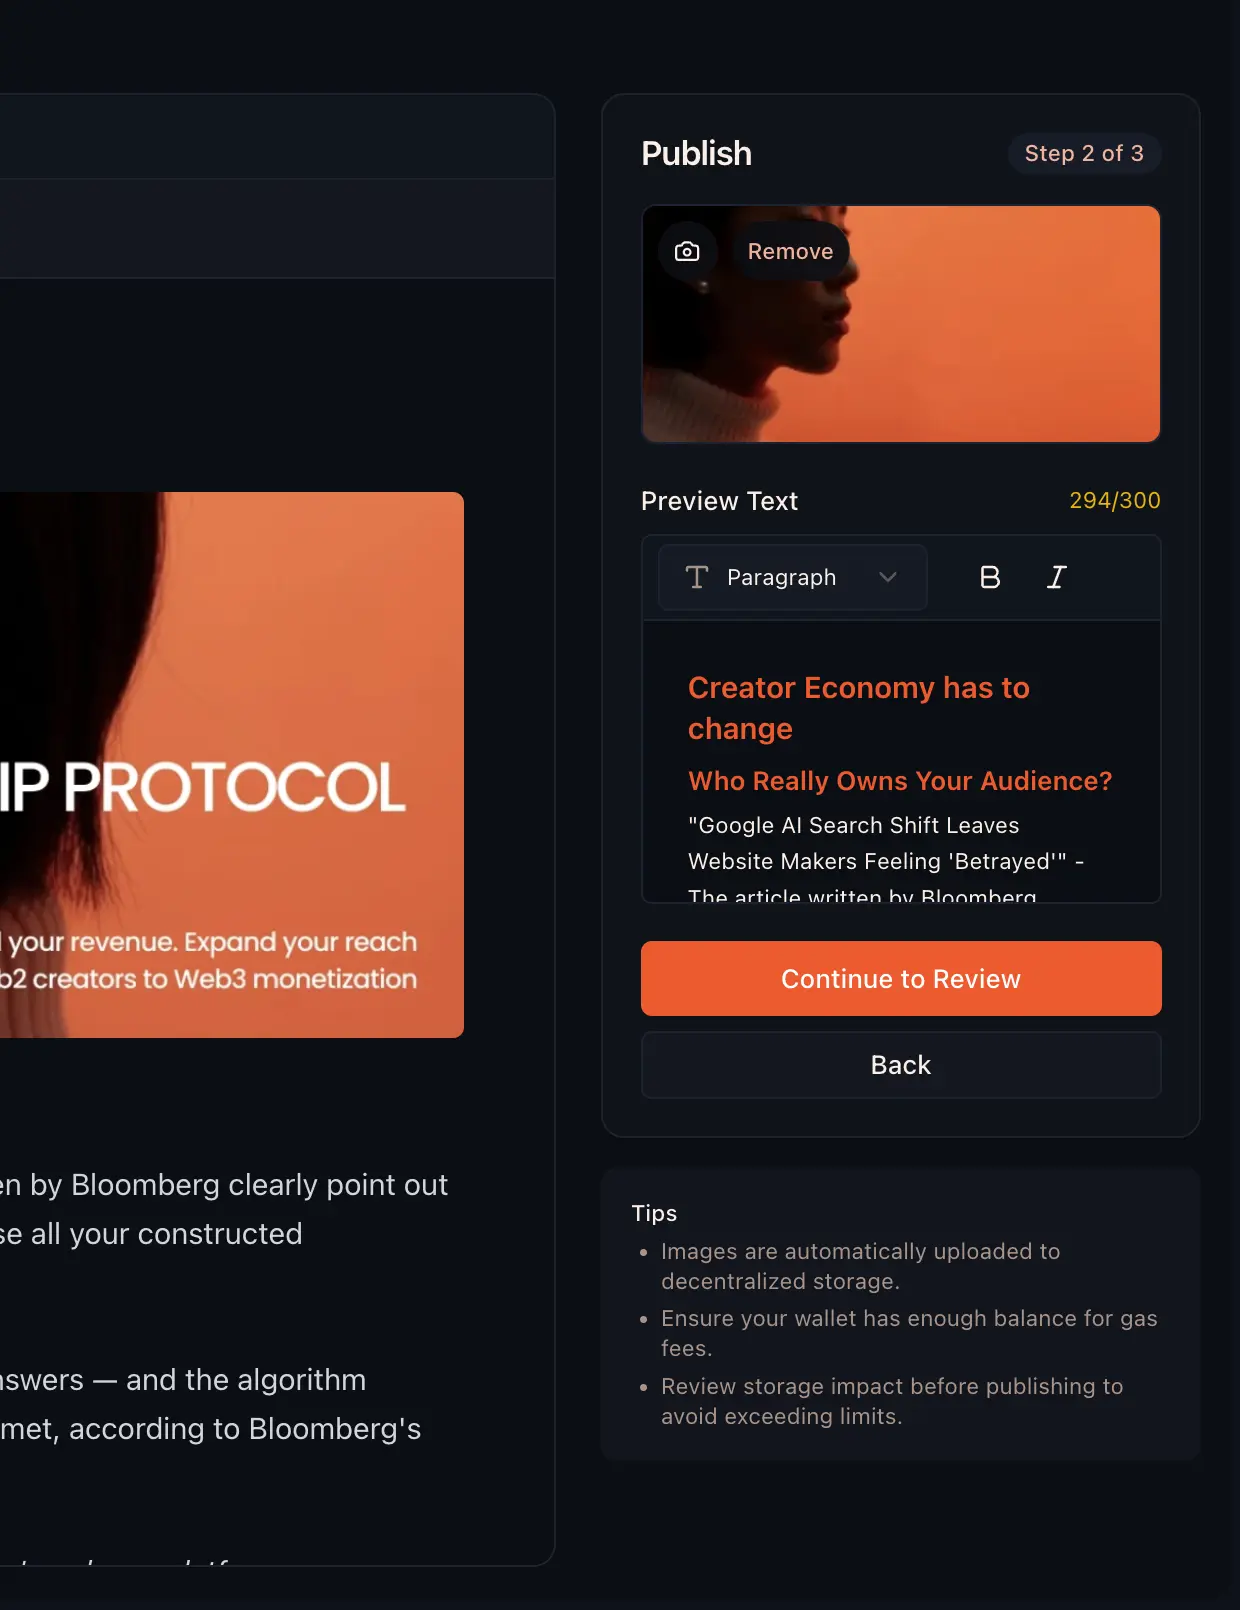
- Preview - Review how your article will appear
- Publish - Upload to Walrus storage
# Access tiers determine who can view your content
Public   → Anyone can view
Basic    → Basic members and above
Premium  → Premium members and above
Ultra    → Ultra members only
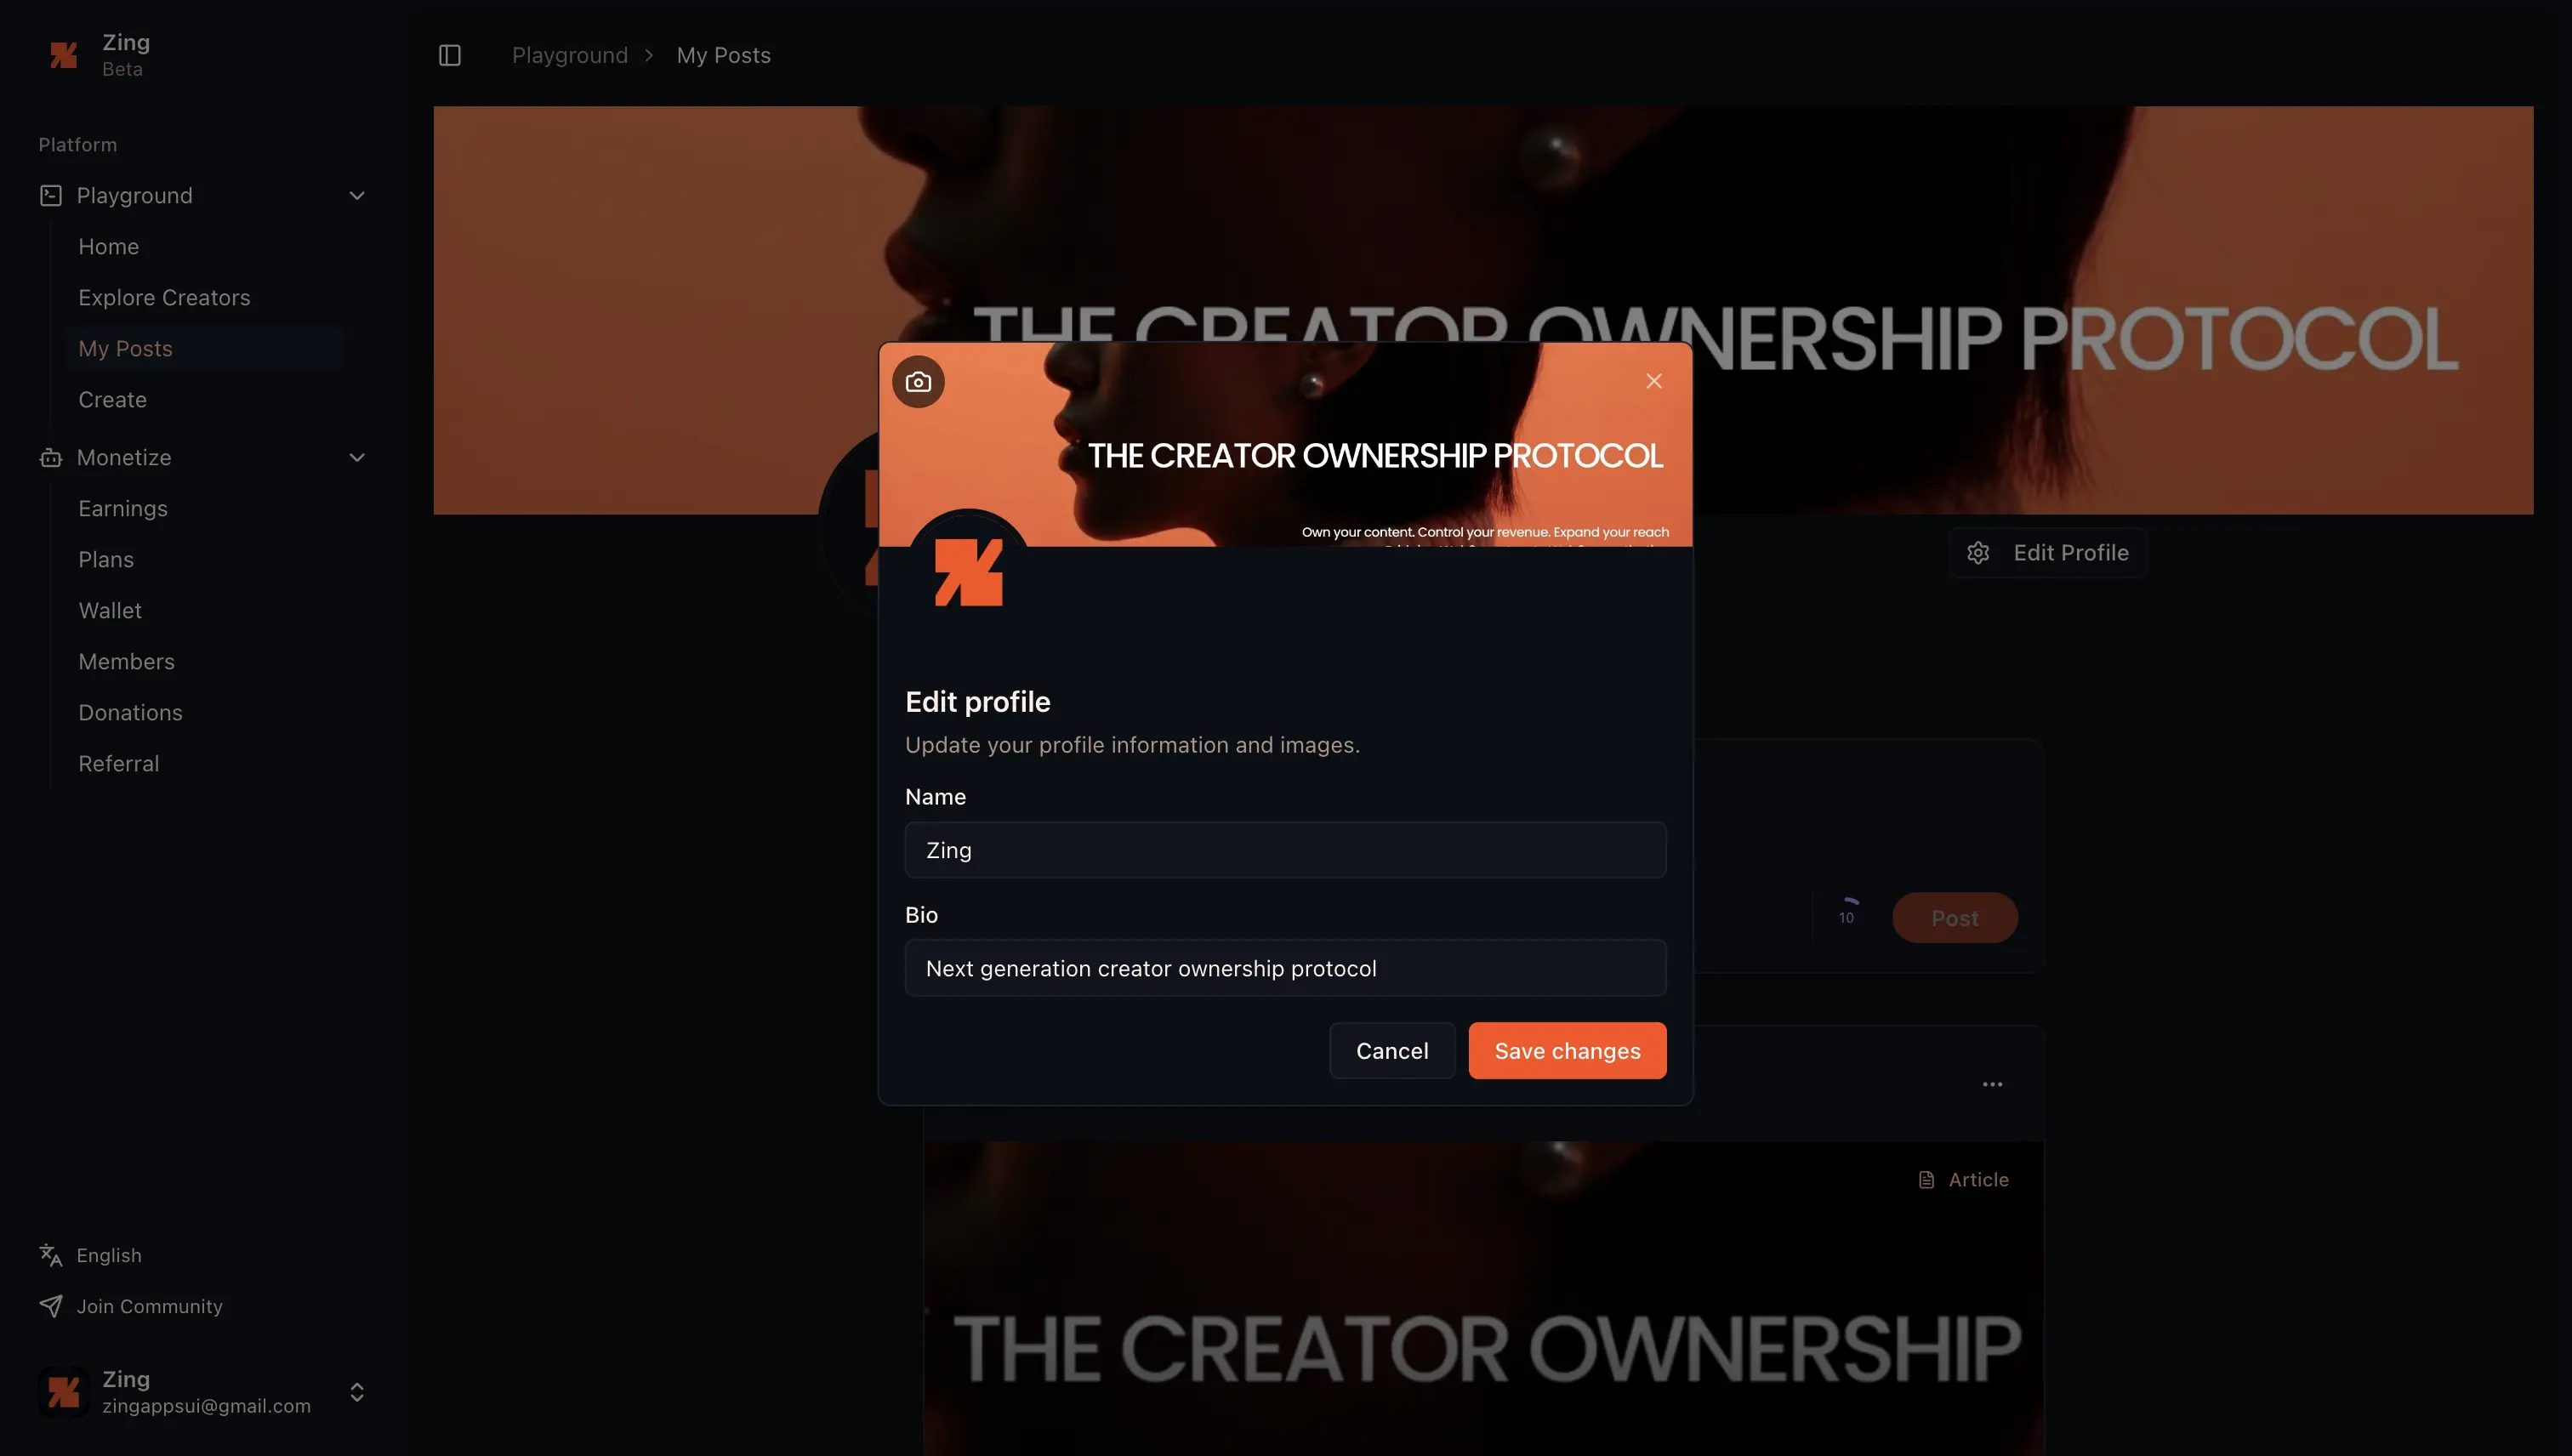
Step 4: Set Up Your Profile
Customize your creator profile to attract members:
- Upload Avatar - Your profile picture
- Update personal info - Tell members who you are
Understanding the Dashboard
After studio activation, the dashboard gives you access to:
| Section | Purpose |
|---|---|
| Home | Tag sphere + search bar (semantic & keyword) to discover articles |
| Explore Creators | Find creators by tags or search by name |
| My Posts | Manage your published articles |
| Creator | Your creator profile page |
| Earnings | View revenue from subscriptions, API calls, and donations. Configure content fees and subscription pricing. |
| Plans | Check subscription status across creators. Upgrade or downgrade tiers. |
| Wallet | Manage your USDC balance. Deposit and withdraw funds. |
| Referral | Referral program info and commission tracking. |
What's Next?
Great, you're now set up as a Zing Protocol creator! Here are some next steps:
- Memberships - Configure your membership tiers
- Donations - Enable one-time donations from fans
- Wallet - Learn about USDC management
Troubleshooting
Authentication Issues: If Google auth fails, try clearing cookies and localStorage, then attempt again.
Storage Limit Exceeded: If you hit your storage limit, upgrade to a higher tier or delete old content.
Transaction Failed: Ensure you have sufficient USDC balance for the transaction fee (~$0.001).